If you're following Jorge Aparicio's Embedded in Rust blog, then you know that currently a lot of efforts are happening to bring Rust to embedded devices. Embedded is one of the four target domains in the Rust 2018 Roadmap and Jorge aka japaric is leading the working group that tries to build foundational libraries to make type-safe, powerful and zero-cost abstractions in Rust possible on microcontrollers and other small devices.
One of the initiatives he started to reach these goals is the Weekly Driver Initiative. To quote from the GitHub issue:
The goal is to release a new no_std, generic, embedded-hal based driver crate every one or two weeks. Driver crate here means a library crate that lets you interface an external component like a digital sensor or a wireless transceiver.
Hereby I would like to announce my first contribution: A Rust driver for the MCP3425 ADC.
The Device
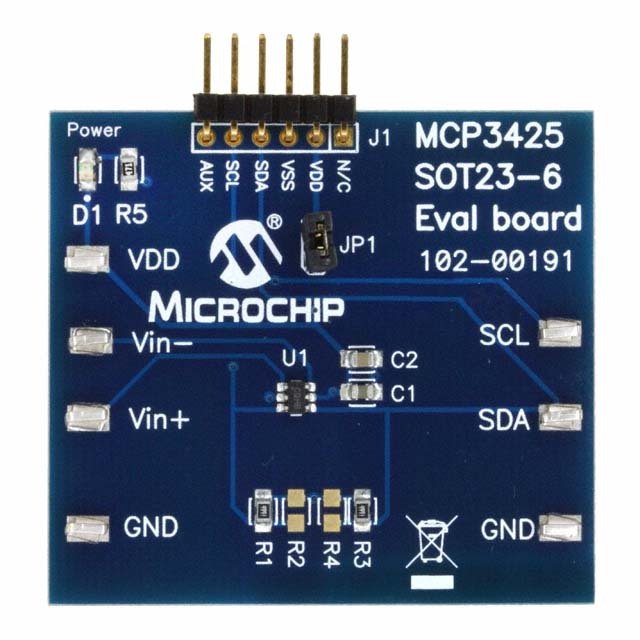
The Microchip MCP3425 is a low-current I²C 16-bit analog-to-digital converter (ADC) with an on-board ±2048 mV reference. This means that it can measure voltages up to 2.048 V with up to 16 bits of accuracy, corresponding to steps of 62.5 µV. You can buy the device from Digikey starting at 1.86 €, or an eval board for around 12€.
The ADC can be accessed in two different modes. In one-shot mode, the ADC wakes up, does a single measurement and then goes back to standby, where it consumes very little energy. In continuous mode, an internal timer makes sure that a new measurement is being done 15, 60 or 240 times per second, depending on your resolution (which can be set to 12, 14 or 16 bit). You can then read the latest measurement from the data register through the I²C bus.
The Driver
To access the device from Rust, you first have to add the mcp3425 crate to your project. You also need a concrete implementation of the embedded-hal traits. In this example we'll build the driver for the Raspberry Pi running Linux, so we'll pick linux-embedded-hal.
# Cargo.toml
...
[dependencies]
mcp3425 = "0.2"
linux-embedded-hal = "0.1"
Then, import the necessary types:
extern crate linux_embedded_hal as linux_hal;
extern crate mcp3425;

use linux_hal::{Delay, I2cdev};
use mcp3425::{MCP3425, Config, Resolution, Gain};
In your main function, initialize the Linux I²C driver:
let dev = I2cdev::new("/dev/i2c-1").unwrap();
Now we can create an MCP3425 instance. To do so, we need the device address on the I²C bus. The MCP3425 has the fixed address 0x68 unless you order another configuration from the factory. (If you don't know it, you can query it with sudo i2cdetect 1).
We'll initialize the driver in one-shot mode:
let address = 0x68;
let mut adc = MCP3425::oneshot(dev, address, Delay);
Now let's do a measurement with 16 bit resolution and no additional gain:
let config = Config::new(Resolution::Bits16Sps15, Gain::Gain1);
let voltage = adc.measure(&config).unwrap()
That's it, we now have a Voltage instance that can be used however you like.
If you want to use the ADC in continuous mode, that's also pretty easy:
let mut adc = MCP3425::continuous(dev, address, Delay);

let config = Config::new(Resolution::Bits12Sps240, Gain::Gain1);
adc.set_config(&config).unwrap();

let voltage = adc.read_measurement().unwrap();
It's important that you first initialize the configuration with set_config and that you don't poll the measurements faster than the sample rate. Otherwise you'll get a NotReady error to prevent that you read stale values from the data register.
Error Handling
There are a few errors that can occur:
- Error::I2c(E): This is returned if a problem happens during communication with the device.
- Error::VoltageTooHigh: This is returned if the voltage is too high to measure.
- Error::VoltageTooLow: This is returned if the voltage is too low to measure.
Then there are two errors that should only ever happen in continuous mode:
- Error::NotInitialized: This is returned if you forgot to call set_config before retrieving the first measurement.
- Error::NotReady: This is returned if you're polling the data register faster than the sample rate (e.g. with an interval of less than 16.6 ms in 60 samples-per-second mode). Technically, this error is returned if the NotReady bit is set in the config register when reading the measurement.
Building
To build the resulting program for the Raspberry Pi Zero W, use the following command:
cargo +nightly build --release --target=arm-unknown-linux-gnueabihf
Then copy the binary from the target/arm-unknown-linux-gnueabihf/release/ directory to your Raspberry Pi and you're good to go!
That's it!
Thanks for reading, please follow the Weekly Driver Initiative on GitHub :) If you are using this crate and/or have any questions, let me know on Twitter, discuss on Reddit or leave a comment below.
Links:
- Sourcecode: https://github.com/dbrgn/mcp3425-rs
- Crates.io: https://crates.io/crates/mcp3425
- Docs: https://docs.rs/mcp3425/